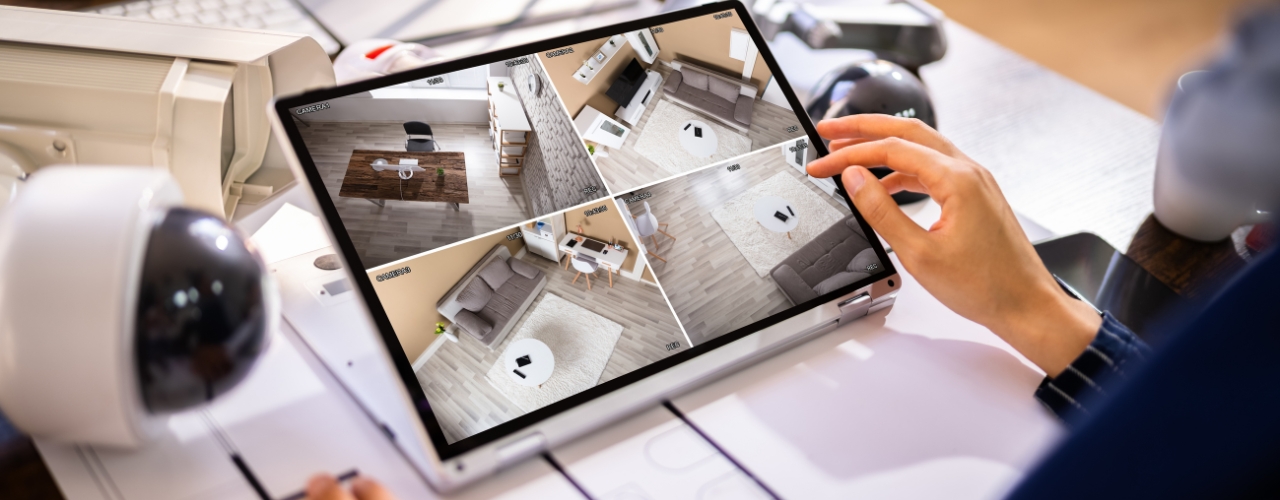
With the continuous advancement of technology, people are paying more and more attention to home security issues. Dahua NVR is a cost-effective monitoring device and are therefore loved by many users. So, how to setup Dahua NVR for remote viewing? This article will introduce you in detail the remote monitoring setting method to help you easily master this monitoring skill.
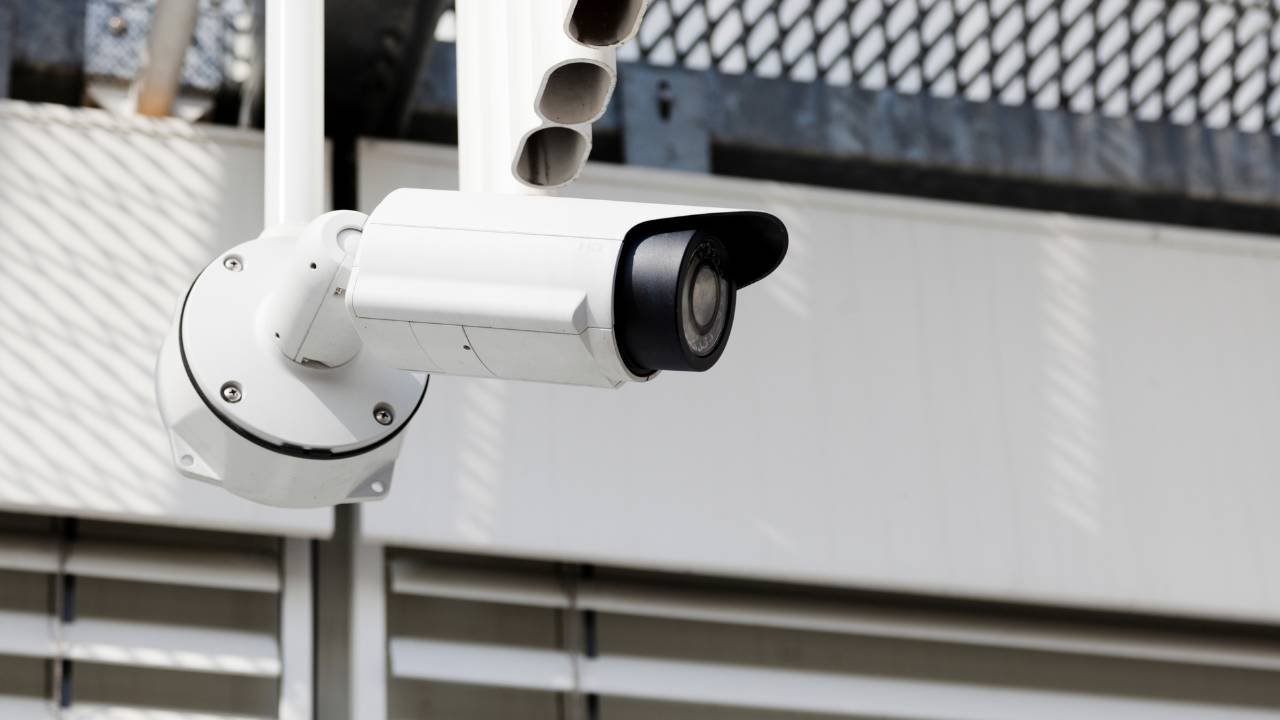
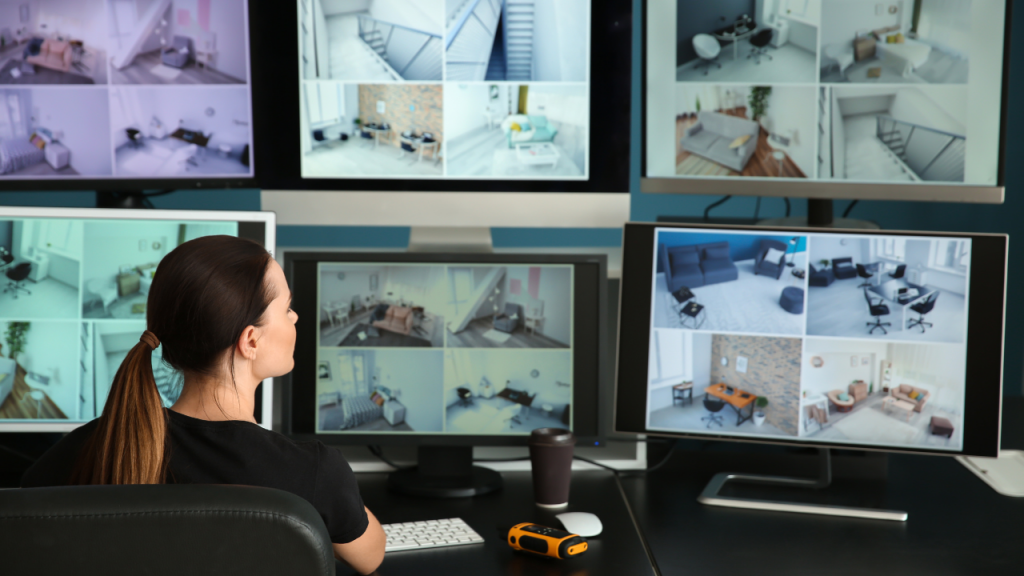
Dahua AI NVR is designed for home and commercial places and have multiple functions such as high-definition video recording, real-time monitoring and cloud storage. By connecting to the network, users can view real-time images anytime and anywhere, thereby ensuring the safety of their families and property.
Remote monitoring setting steps of NVR Dahua:
Connect to the Network
First, you need to connect the Dahua NVR to the network. Taking wireless network connection as an example, follow the steps below:
- Make sure the video recorder is turned on;
- Select “Network Settings” in the NVR menu;
- Enter “Wireless Network Settings” and enter the wireless network name (SSID) and password;
- Click “Save” and wait for the network video recorder to automatically connect to the wireless network.
Configure Camera Information
After successfully connecting to the network, you need to further configure the camera information. Enter the “Camera Management” menu and follow the steps below:
- Select the camera to be configured;
- Click “Advanced Settings”;
- In the “Camera Information” page, fill in the necessary information such as IP address, port number, etc.;
- After completing the filling, click the “Save” button.
Download and Install Dahua NVR Software
In order to facilitate remote viewing of the Dahua network video recorder, you need to download and install the Dahua NVR software. Visit Dahua’s official website and select the corresponding version according to your operating system to download and install.
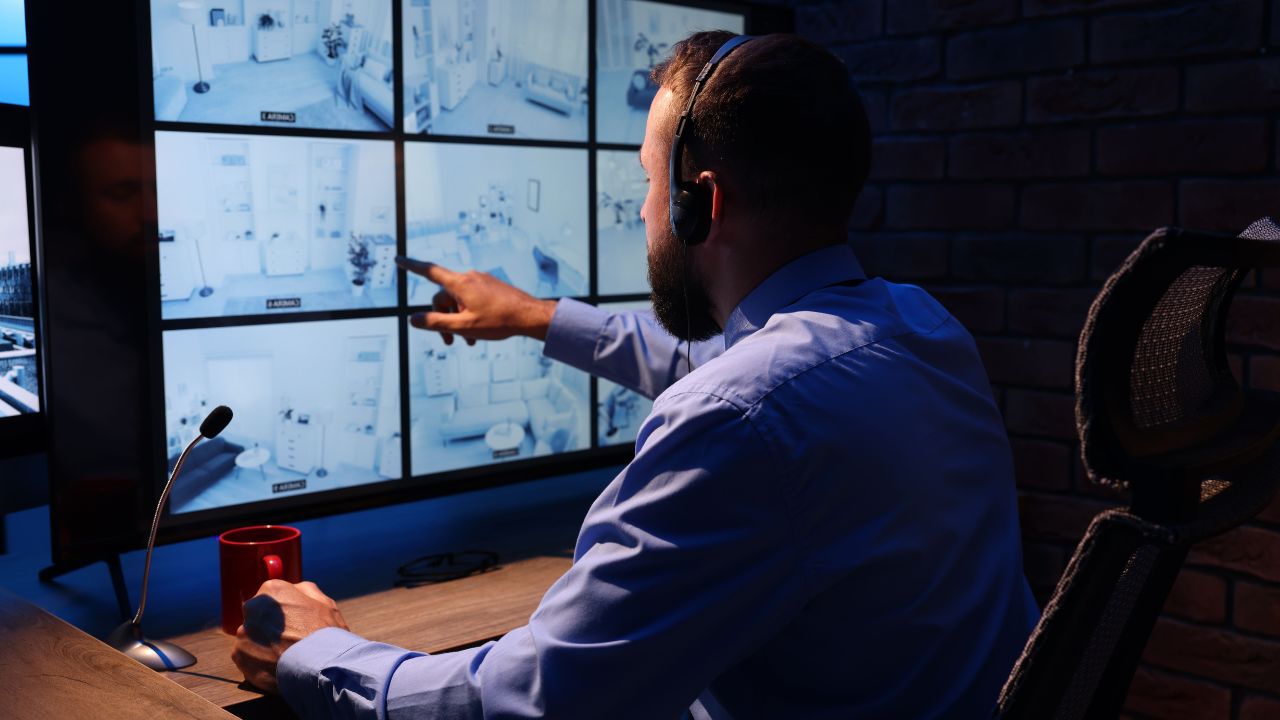
Log in and View the Real-time Image
After the installation is complete, open the client software, enter the previously configured camera information (such as user name, password, etc.), and log in to the Dahua camera NVR. After successful login, you will be able to view the surveillance image in real time. If you need to view the historical records, you can select the corresponding time period in the client software to view.
Set a scheduled task (optional)
If you want the Dahua NVRs to automatically play the surveillance image at a specific time, you can set a scheduled task. Enter the “Scheduled Task” menu and follow the steps below:
- Select the scheduled task to be set;
- In the “Scheduled Task Settings” page, enter the trigger time, playback duration and other information;
- After completing the settings, click the “Save” button.
- Click the “Save” button to complete the scheduled task settings.
With the detailed steps of setting up Dahua NVR for remote monitoring shared above, you should be able to manage it smoothly. If you have any questions during operation or need Dahua 16 channel NVR, or more Dahua NVR camera system, feel free to contact VIKYLIN for quotes. We offer quality products and professional service. Hope this helps, and stay tuned for more security tips!