Are you struggling to connect your Dahua AI camera to your network? Changing the IP address might be the solution you need. In this guide, we’ll walk you through the process of change Dahua camera IP address using three different methods. Whether you’re a tech-savvy user or a beginner, these steps will help you get your camera up and running smoothly.
Collecting Relevant Information
Before diving into the process of changing the IP address, it’s essential to gather some crucial information. First, note down the default IP address of security camera Dahua, which is typically 192.168.1.108 or 192.168.0.108. If you’re using a Dahua NVR, the default IP is often 192.168.1.100. Having this information handy will save you time during the configuration process. Additionally, ensure your computer is connected to the same network as your camera and set to the correct subnet. This preparation will make the process smoother and more efficient.
Method 1: Using the Dahua Camera Config Tool
The Dahua Config Tool is a powerful software provided by Dahua Technology that simplifies the process of managing your camera’s network settings. Here’s how to use it:
- Download and install the Dahua camera Config Tool from the official Dahua website or a trusted source.
- Connect your computer to the same network as your camera.
- Open the Config Tool and wait for it to automatically detect Dahua technology IP camera.
- Once detected, select the camera and click on the “Modify IP” option.
- Enter the new IP address, subnet mask, and gateway details.
- Click “OK” to apply the changes. Your camera should now be accessible at the new IP address.
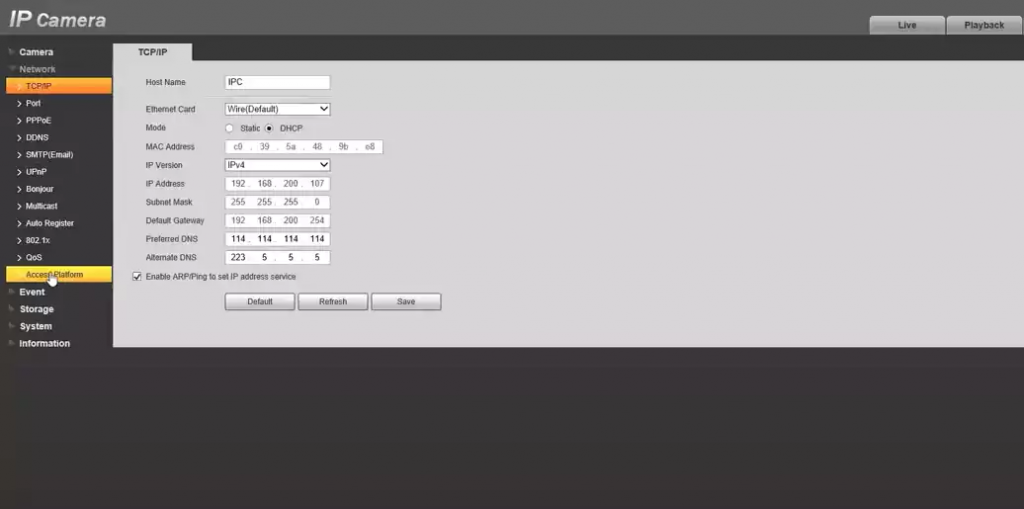
Method 2: Web Interface Setup
If you prefer a more hands-on approach, you can change the IP address directly through the camera’s web interface:
- Open a web browser and enter the default IP address of your camera in the address bar.
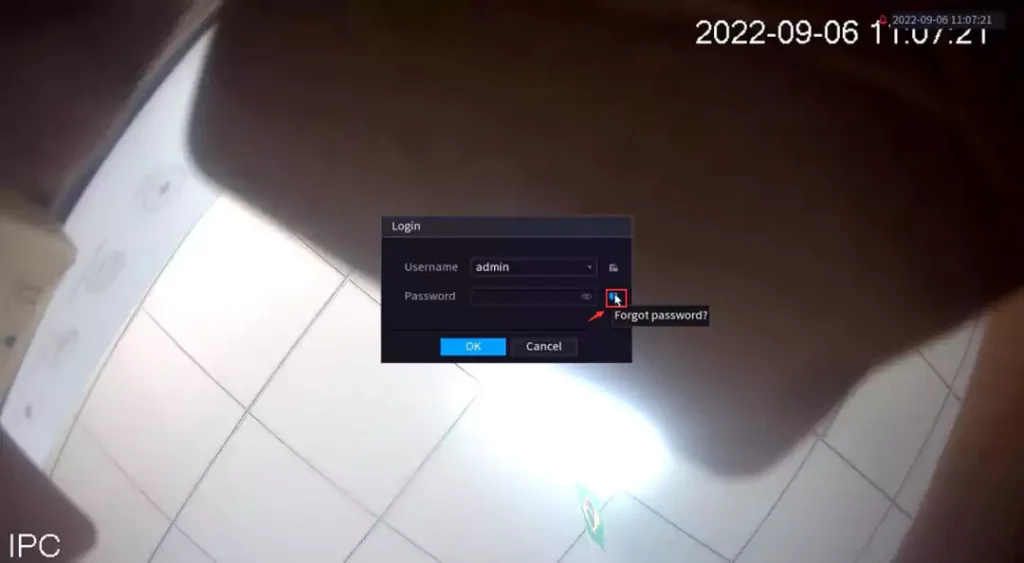
- Log in using the default username and password, which are usually “admin” for both fields.
- Navigate to the network settings section within the camera’s interface.
- Locate the IP address configuration option and enter the desired IP address, subnet mask, and gateway.
- Save the changes and reboot the camera if necessary. The camera should now be reachable at the new IP address.
Method 3: Dahua NVR Login Interface Reset
In some cases, you might need to reset Dahua AI camera to its default settings before changing the IP address. This method involves using the NVR login interface:
- Connect your camera to the NVR.
- Power on the NVR and access its login interface.
- Look for an option to reset the connected camera to its factory settings.
- Once reset, follow the initial setup process to assign a new IP address to the camera.
- Ensure the new IP address is within the same subnet as your network to avoid connectivity issues.
Additional Notes
Changing the IP address of Dahua technology IP camera is a straightforward process, but there are a few things to keep in mind. First, always ensure your computer is set to the correct subnet to communicate with the camera effectively. Second, if you encounter any issues during the process, double-check your network settings and verify that all devices are properly connected. Lastly, consider using a static IP instead of a dynamic one to prevent future conflicts and maintain a stable connection.
Contact VIKYLIN
At VIKYLIN, we specialize in providing high-quality security cameras dahua and expert technical support. Our team is dedicated to helping you optimize your security system and troubleshoot any issues you may encounter. If you need further assistance with Dahua audio camera or any other surveillance equipment, feel free to contact us at VIKYLIN. We’re here to help you enhance your security and peace of mind.