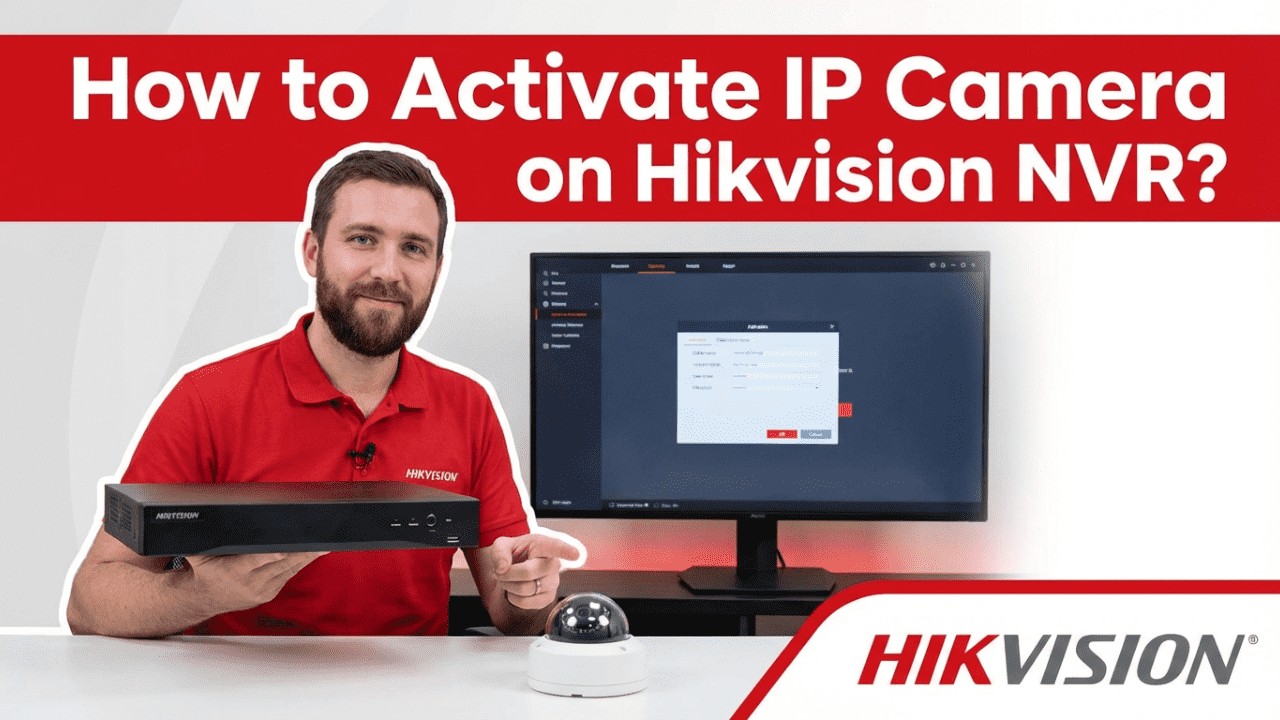
Integrating IP cameras into a Hikvision Network Video Recorder (NVR) enables centralized recording, live monitoring, and efficient surveillance management. Before recording video on your NVR, Hikvision requires that every IP camera be activated and properly added to the recorder, this enhances device security and prevents unauthorized network access.
This Guide Covers:
- Activating IP cameras so they are recognized by the NVR.
- Adding activated cameras to channels on the NVR.
- Best practices and recovery tips.
Step 1: Power On Your IP Camera and NVR
Ensure your IP camera is powered on and physically connected via PoE or a network switch to the same LAN where your NVR resides. If using PoE ports on the NVR, plug the camera directly into a PoE port on the NVR’s rear interface.
📌 Tip: PoE (Power over Ethernet) provides both power and network connectivity.
Step 2: Activate the IP Camera
Before adding to the NVR, the camera must be set to an “active” status. Unactivated cameras cannot be added or streamed by the NVR.
Method A: Activate via SADP Tool
- Download and open the Hikvision SADP Tool (official utility).
- Ensure your computer and the camera are on the same subnet.
- In SADP, locate and select the inactive camera from the list.
- Enter a new strong admin password and confirm.
- Click Activate, camera status will change to Active.
- Optionally, modify the camera IP so it matches your NVR’s subnet
Method B: Activate via Web Browser (Optional)
- Set your PC’s IP to match the camera’s default subnet.
- Open a web browser and enter the camera’s default IP (e.g.,
http://192.168.1.64). - Create a strong admin password.
- Save settings and modify the IP if necessary.
Step 3: Prepare the NVR for Camera Addition
- Power on the Hikvision NVR and display the GUI on a connected monitor.
- Login with your admin credentials.
- Navigate to Menu → Camera → IP Camera.
Step 4: Add the Activated IP Camera
Auto Search (Recommended for PoE Cameras)
- In the IP Camera section, look for online devices in the listed panel.
- Cameras that are powered and activated should appear here.
- Click Add next to each camera you want to add. The NVR will attach it to an available channel. If passwords match (camera & NVR), addition is seamless.
Manual Add
Use this if the camera does not auto-appear:
- Click Add.
- Enter the camera’s IP address, protocol (e.g., ONVIF or Hikvision), port, and credentials.
- Press OK to finish.
Step 5: Confirm Camera Status
Once added:
- The camera should show Online and display a live preview.
- If it shows Inactive or Error, re-verify the activation and credentials.
Troubleshooting Common Issues
✔️ Camera shows “Inactive” on NVR:
- Ensure camera is activated in SADP or via web browser.
- Check that camera password matches NVR’s expected credentials.
✔️ Camera not found in Online List:
- Confirm network connection and same subnet.
- Use Manual Add with correct IP/protocol.
✔️ No video displayed after add:
- Double-check PoE power and cable quality.
- Verify ONVIF is enabled on the camera (for third-party devices).
About VIKYLIN: Official Hikvision Distributor
VIKYLIN is an official Hikvision distributor and system integrator offering a wide range of CCTV and IP surveillance solutions, including:
- Hikvision NVRs and IP cameras
- PoE and Ultra-HD series
- OEM branding, custom configurations, and private-label options
Our team delivers professional pre-sales support, product consultation, and logistics services to match your security project requirements. Whether choosing PoE, ONVIF, or hybrid surveillance systems, VIKYLIN delivers quality and compliance.
Conclusion
Activating and adding an IP camera to your Hikvision NVR ensures secure, reliable surveillance capture. Following official steps, activate first, then add to NVR channels, avoids connectivity issues and unlocks full system capacity.
📩 Ready for an accurate quote? Contact VIKYLIN today for pricing, model recommendations, and customized solution planning.