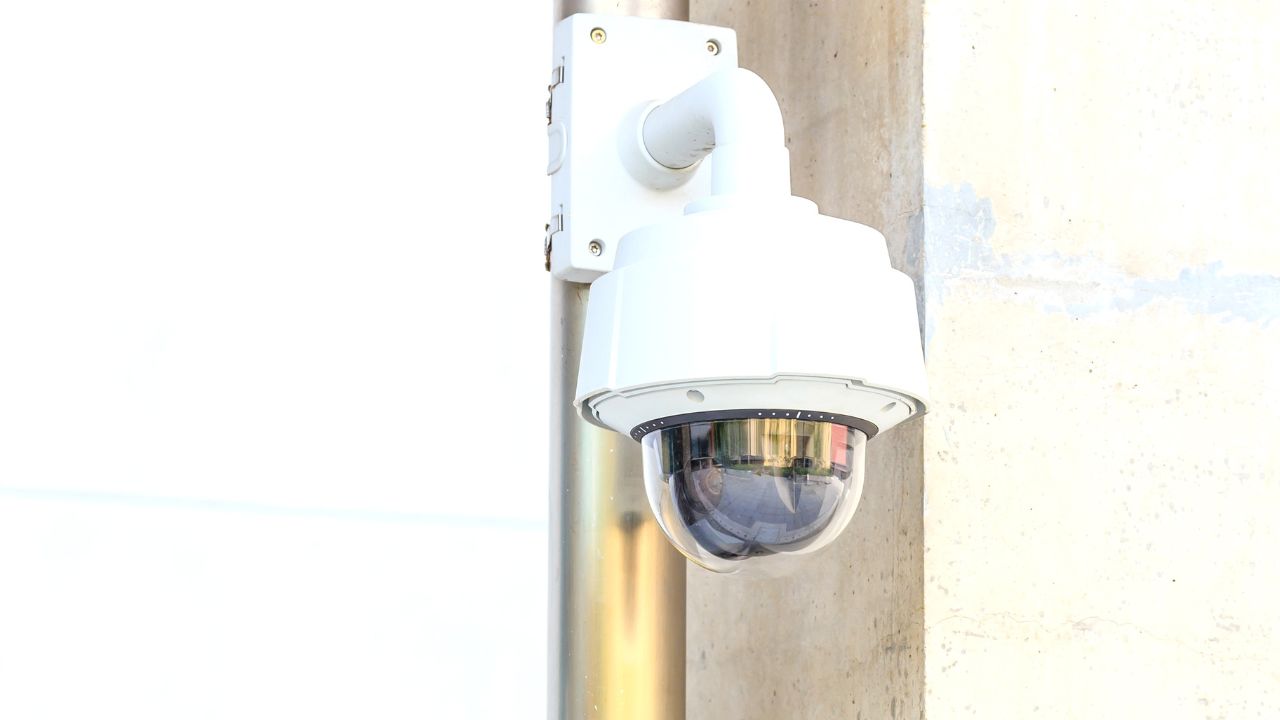
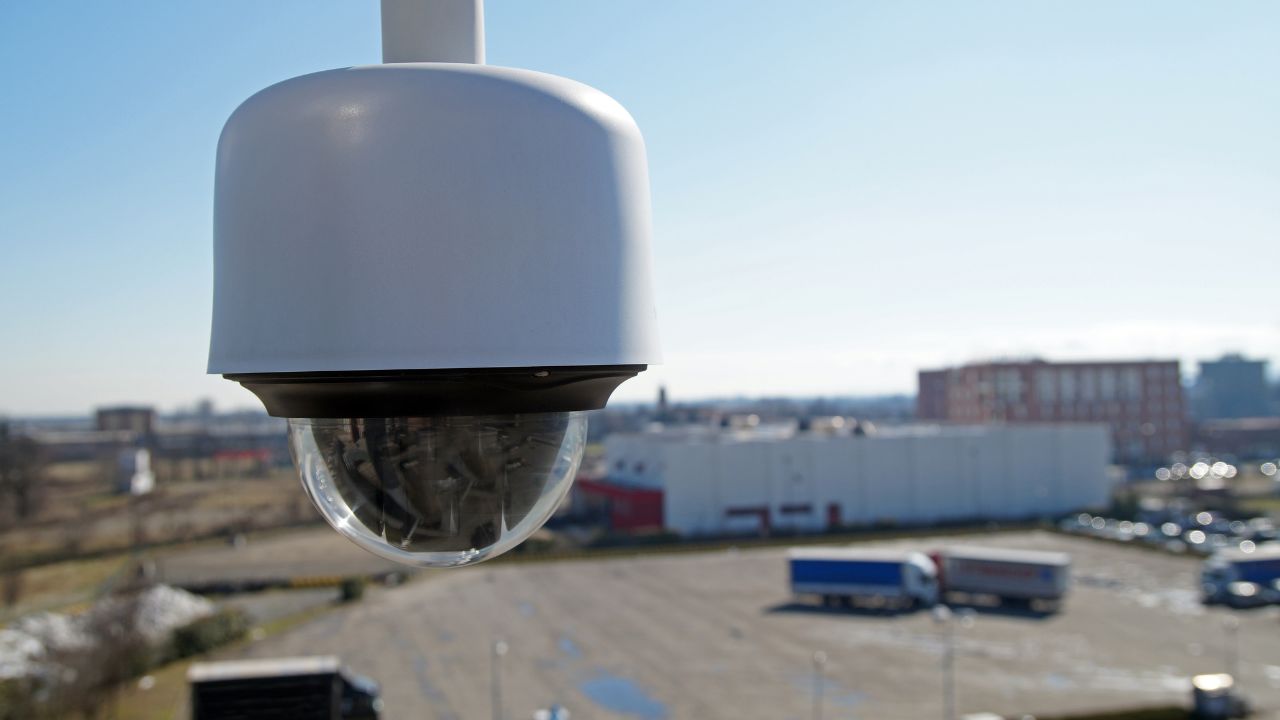
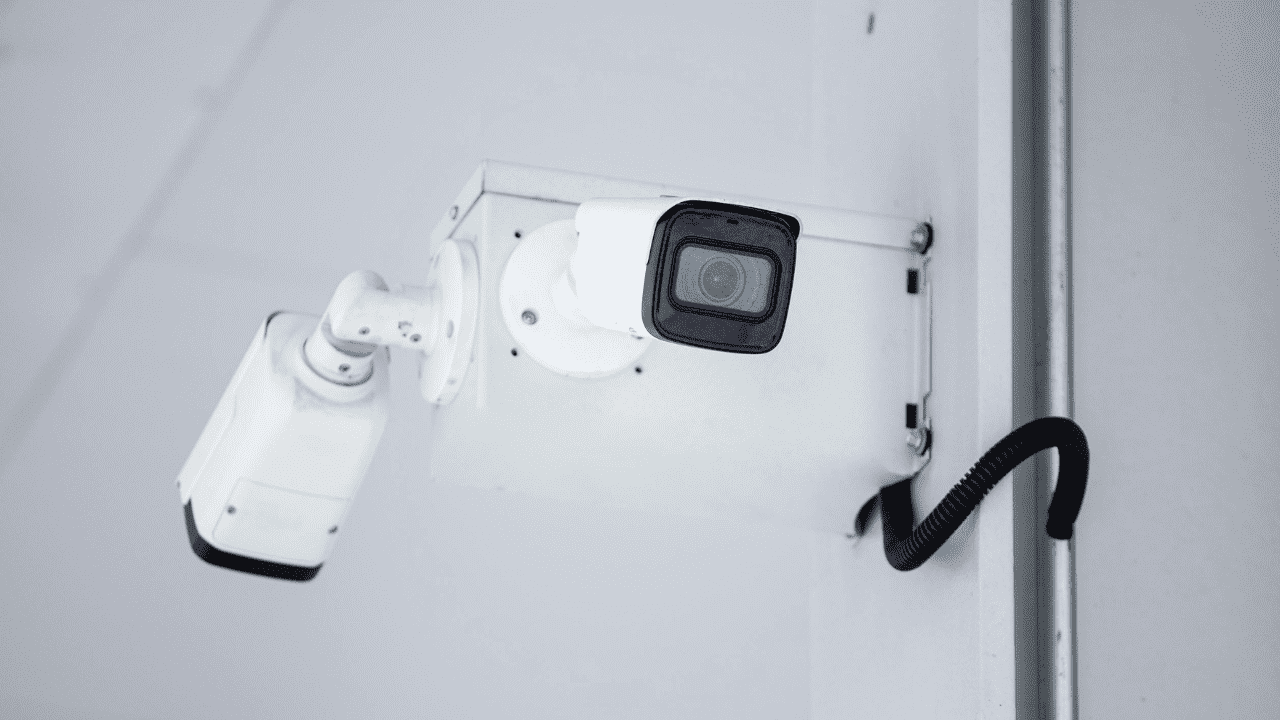
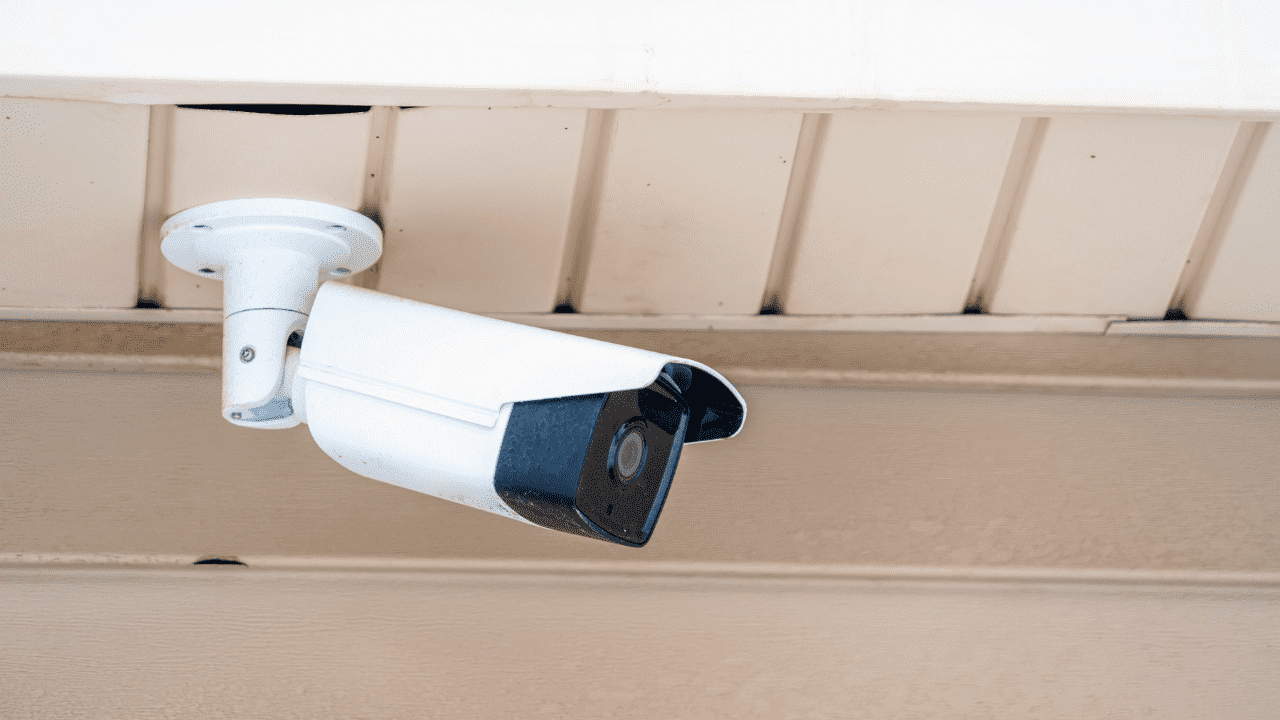
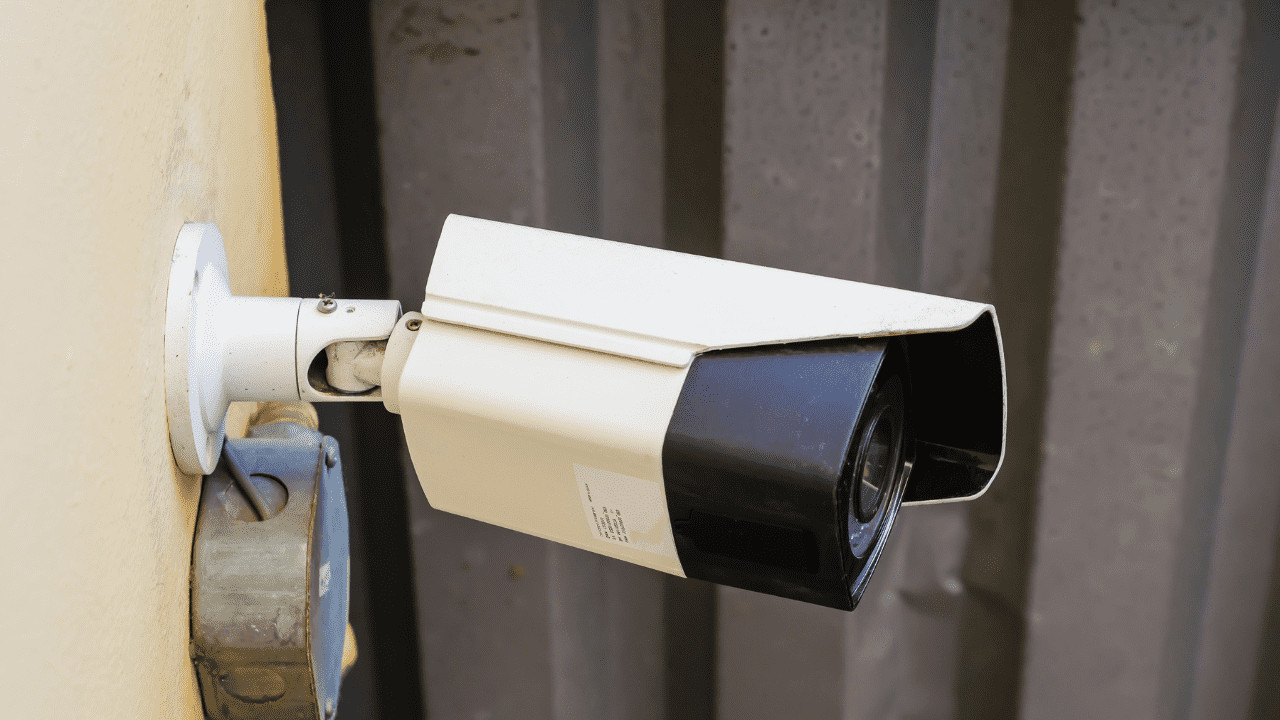
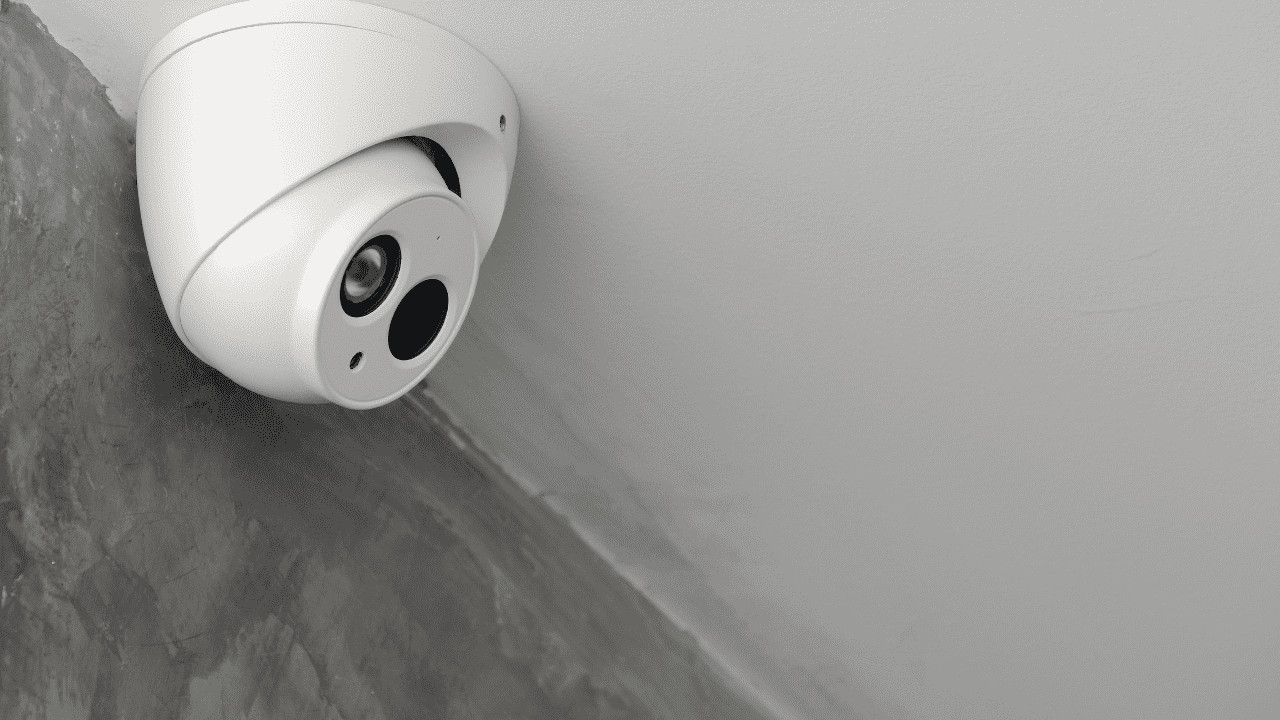
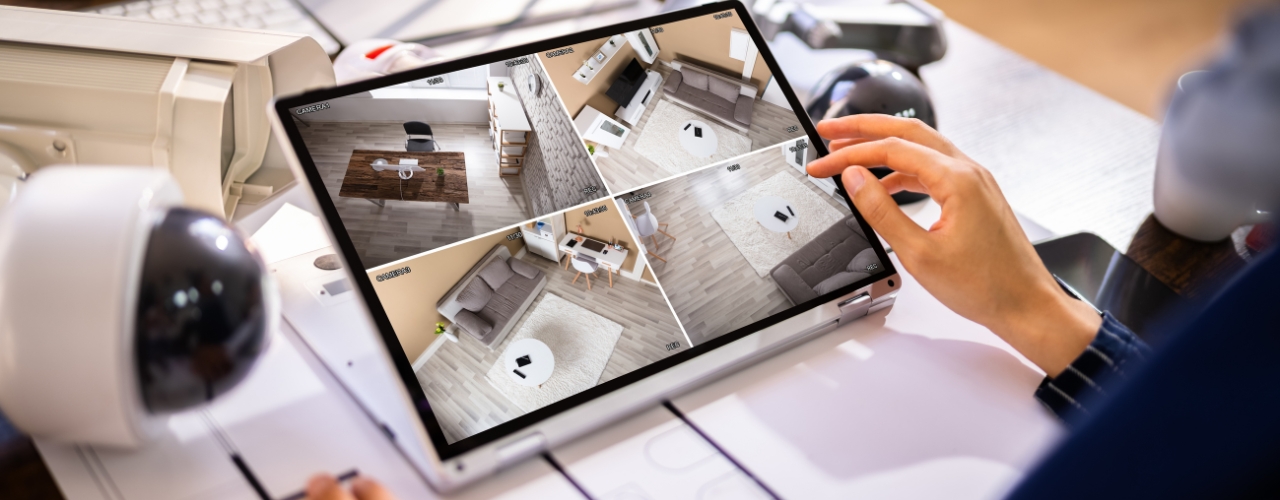
Security cameras play a crucial role in safeguarding our homes, businesses, and other premises. Vikylin security cameras are known for their quality and functionality. In this guide, we will walk you through the process of mounting these cameras effectively.
Tools You Will Need
Before you start the installation process, make sure you have the following tools:
- Screwdriver set (both Phillips and flathead, depending on the type of screws used in the camera mount)
- Drill (if you need to make holes in walls or other surfaces)
- Measuring tape
- Pencil or marker for marking
- Level tool to ensure the camera is mounted straight
Location Planning
- Before beginning the setup procedure, it is important to carefully pick the placement for the camera. When establishing the location, think about the specific areas you want to keep track of, such as the front entryway, driveway, or yard gain access to factors for home safety objectives.
- Review the line of vision provided by the security cameras, keeping in mind that different designs include varying angles like 90 ° or 120 °.
- Make certain that the picked place is devoid of barriers and provides optimum protection of the designated area.
- Stay clear of setting up the cam near sources of warm, strong magnetic fields, or areas prone to extreme resonance, as these elements can negatively impact its efficiency.
For many efficient outcomes, position the CCTV security cam at a height of about 8 to 10 feet in the air to hinder meddling and attain a more clear view. When it comes to wide-angle security cameras, change both the height and angle according to the specific monitoring requirements. Angle the video network camera a little descending to concentrate on the target location and lower unseen areas.
Bracket Mounting
- When it’s time to mount the brace, if you’re installing on a wall surface, utilize the given wall surface place brace. Hold it versus the wall at the intended place.
- Make use of the level device to ensure it’s straight both flat and vertically, and mark the screw holes with a pencil.
- If the wall surface is brick or concrete, utilize a drill with a proper stonework bit to make the holes.
- Put wall surface anchors (if given) and afterwards securely screw the brace to the wall surface.
Lens Accessory
When you have mounted the brace, connect the network camera. Make certain that the surveillance video camera is properly straightened with the brace. The video camera generally has ports or screw holes that ought to associate those on the brace.
Electrical Wiring and Power Link
For wired surveillance cameras, guarantee the cable television is safely directed from the camera to the source of power and any type of associated gadgets. To stop damages, keep the cable as concealed as feasible utilizing cord management devices like a secure source of power, taking care to utilize the. Some VIKYLIN cameras might additionally support Power over Ethernet (PoE), in which case a PoE switch should be made use of to supply both power and network connection.
Testing After Installation
To finish the setup it on and permitting it to start up, which generally just takes a few secs. Next off, make use of the surveillance or app to see the camera’s feed. Examine the image high quality, quality, and guarantee the wanted location is plainly visible. Change settings if required. Furthermore, test out extra functions such as movement discovery and night vision (if applicable). Move around the monitored area to turn on movement detection and validate that the video camera acts as anticipated.

